Thursday, June 2, 2011

More Dollar Store Fabulosity

Ok, so "fabulosity" is probably a made up word, I'm not really sure, but I think it applies.  A couple of months ago I did a shabby chic dollar store bird makeover.  Well, today I'm bringing you another great dollar store project.  The inspiration for this came from Pick Your Plum when their item for sale one day was a small sheet of metal.  In one of the pictures they had it decoupaged with paper and displayed as a magnet board.  I thought it was super cute, but too small to be of any real use.  It needed to be bigger.  So I started thinking how to get a larger sheet of metal on the cheap, and I thought of cookie sheets.  With a coat of spray paint on them it wouldn't matter what kind of grungy shape they were in, so they would be a great thrift store find.

  I stored all this info away in my lil' noggin'.

A few days later I realized my niece's 3rd birthday was coming up and I would need a gift for her.  My sister has been in the process of redoing her room into a big girl room with lavenders, white, and green.  My ol' wheels started turnin' and things started clickin'.  I knew I had the perfect set of scrapbook paper that I had been saving for just the right thing.  So I decided to tackle this project.

But, of course, when I wanted an old grungy cookie sheet they weren't to be had.  So, I just picked this one up at the dollar store for...........you guessed it....$1. 


Hubster drilled the holes for me and I gave it a few good coats of ivory spray paint.  Here it is pictured with the papers I've had FOREVER.  Now they had the perfect use.  I found the green ribbon in my stash, too.
(I wasn't worried about the middle/front area being painted too well because I knew it would be covered by paper)


I just eyeballed the sizes of paper I would need, and ripped them out so that they'd have an uneven edge.  I rounded the corners to fit nicely, punched holes to fit over the drilled holes, and inked the inner edges of the torn paper.


Then I Mod Podged it on.  Again, this is for a 3 year old, so I went ahead and did another coat of Mod Podge over the top, too, to help protect it.


I scrounged through all my embellishments trying to find something to make cute magnets out of.  I finally settled on some typography type word squares.  Incidentally, just a couple of days before this I bought a large tub of craft stuff at a yard sale for $5 and in it was the perfect amount of magnets I needed for this project!


And here she is all finished. 


I put a picture of my daughter and the birthday girl (BFF cousins who miss each other VERY much!) that was taken a couple of years ago under the "Remember When" magnet, and added a little note.  And yes, "Wild Thing" is befitting. She's a very energetic, go-getter, tree climbin', monkey girl!  : )


After I completed my project, I Googled the idea to see if there were more like it out there in the crafty world, and yes.........there are tons.  The idea was not original apparantly.  There was a really cute one for a Christmas Advent calendar that I'd love to make some time.

So, any hoo, cost breakdown of this birthday present:

Cookie Sheet - $1
Scrapbook Paper - $0 (had on hand), spray paint - $0
Ribbon - $0, Mod Podge - $0
Magnets/Embellishments - $0

Total Price:
$1

Beautiful and cheap.  See, I told you, FABULOSITY!!


Linking up to:

Wednesday, June 1, 2011

Still Seeing Red {Roses}

I can't take any credit for these roses, the bush was already here when we moved in and I haven't done much of anything with them, but I sure am enjoying them!

They actually have more of a pink tone to them in real life, but I couldn't get that to come through in the pictures.  They look more red here.


Did some color editing on this one.
 
And I'm LOVING having fresh flowers to cheer up my kitchen!


Hope you're having a blessed week!

Friday, May 27, 2011

Seeing Red

Remember this inspiration board I put together for the master bedroom?  I've made a little progress on it.  I'll give you a hint.....it's red........it's not the pillow.
I found this lil' guy at my neighbor's yard sale for $3. I had heard from another neighbor that there would be furniture there and I had been stalking  diligently looking out the window waiting for them to start.  As soon as I saw them setting up I bolted calmly walked over and grabbed him up (the table, not my neighbor).  I only had a $10 bill and she had to give me all her $1's as change. I think I upset her a little.  Oops. 


Anyhoo...it was a typical, sad little night stand that had seen better days.  I didn't take pictures of the process because I know you all have been there, done that, or at least have read about it.  So I'll just tell ya real quick.  Sanded it down, beat it up a little, put two coats of red on it (imagine it looking BRIGHT SHINY red), then finished it off with a brown glaze (craft paint mixed with water).

And here he is.


The glaze picked up the damage I did quite well.  : )


This was my first experience with glazing a piece of furniture, and unfortunately I didn't realize how messy it would be.  I ruined my favorite pair of pajama pants.


I guess that's what I get for being too lazy excited about finishing it to get dressed.

I had everything I needed for this, so the total cost of transformation was $3.


I suppose the sacrifice of the pajama pants was worth it.

Oh, and in other news, I stopped by the paint store to get my free sample of Benjamin Moore paint (pink for Halie's room) and while I was waiting on them to mix it I checked out the "oops" section.  Found the perfect shade of green for the headboard for this room for 2.50.  Yipee!  I love a great bargain!


Linking To:

Friday, May 20, 2011

Sweet Lil' Gretchen

I'm doing a special post specifically to link up to Donna's Saturday Nite Special over at Funky Junk Interiors this weekend.  Last week she shared the sweet story of her special cat and how, sadly, she had to say goodbye to him.  Then she gave us readers some homework - "Do a photoshoot of your special furry friends in your home alongside your favorite decor. Capture the essence of your decorating along side your buddy and you will have a portrait that will mean the WORLD to you once your pets are gone."

I've never been one to neglect doing homework, so here goes! 

This is our sweet Gretchen, a 7 year old Jack Russell Terrier.  We've had her since she was just 7 weeks old and she is near and dear to our hearts.  It is known as a fairly common trait of JRT's that they aren't always very good with kids.  But not so with "Wigglebutts."  She adores our kids and is so great with them.


She plays tug-o-war with Halie, follows her around the house playing "games," and lets baby Burl pull on her ears without so much as a whimper.  I don't allow him to do that, but it happened before I could catch him and she never moved a muscle, just waited for him to let go.


She LOVES to hunt and loves to snuggle.  Sometimes her personality seems almost human-like.


Those warm chocolate eyes are what I fell in love with the moment I picked her up as a tiny little puppy, and I knew I had to have her!


Here she's sitting next to a collection of things I love. 


Old crates with wonderful typography.


Of course, my Edison Lamp I made (if you missed it you can read about it here).  The rusty round metal thing the blue canning jar is sitting on has special meaning to us.  My husband and I were able to visit the land where his great grandpa's farm used to be and where his grandpa grew up.  We found it amongst the rubble/remains of the house.  The little galvanized bucket is from our wedding almost 9 years ago.  We used them to put nuts and mints in on the tables.


The tin cup was a gift from Hubby's grandma.  The old black and white picture is of my husband's deceased Grandpa Burl (our son's namesake).  I want to replace it, though, with a picture of my dad's parents when they were young, because my grandpa gave me that old horseshoe.  It was from his farm many years ago.  The old butter churn has also been in our family for many years.


And here we are on the front porch (still a work in progress).  You can read a little about the bench here.  Those old cans were out of a box of junk I got from someone's garbage, lol!  We used that tea kettle for a couple of years before retiring it to another use.


I got the watering can at an estate auction.  It was lumped together with a small grill and I paid $10 for both.  The couple standing beside me were disappointed they hadn't won because they wanted the grill.  I had no use for another grill so I sold it to them for $5 and kept the can.  The large glass jug was a gift from my mom.  I'm still trying to figure out how to decorate/fill it.  Any suggestions?


So there you have it, our sweet little, loyal, protective, loving, playful, Gretchen.  Or as our 3.5 year old, Halie, has humorously named her, "Gretchen Wigglebutts Licks Halie All The Time Knock Knock Who's There."

Linking to:

Wednesday, May 18, 2011

"Our Lil' Cupcake" Party

Anyone who knows me well knows that my love of decorating isn't confined to just interiors, I love to put together and decorate a good party, too.  So I figured I'd share some during this in-between time of project posts.

This was almost 4 years ago, for Halie's 1st birthday.  I didn't blog then, so my pictures aren't quite as "blog worthy."  But you'll still get the general idea.

Those giant cupcake pans were just starting to become popular, or at least that's when I was first becoming aware of them, and I loved them.  So I decided to do a cupcake theme.  I found partyware that said "Our Lil' Cupcake's 1st Birthday" and I planned around that. 

(This was held at my in-laws home.)


In the end, I decided not to use the giant cupcake pan, and had Publix make a cake to match the cupcake on the partyware instead.  I kind of over calculated on the amount of people it would be for and it turned out huge, lol! 


Saturday, May 14, 2011

Yard Sale Treasures

My parents are in town for a few days and so this morning they stayed with the kiddos while the Hubster and I went down the road to a local town's community yard sale.  And let me tell you, when they said community yard sale they meant community yard sale.  The whole town was like one giant maze of bargains to be had. 

I had $12 in my pocket and I spent that and only that.  That wasn't my plan really, I would have spent more if it had been warranted, and it almost was....but in the end I walked away.  I'm thrilled with what I got though!


A whole bucket of craft paints for $3.


.50 for 2 canning jars (can never have too many of these, am I right?)

An old shoe form - $1 


Hubby said this was the only purchase he was sanctioning (because it had to do with guns, lol!) An old burlap ammunition bag - .50.

An old pair of ice skates in their original box - $1
They'll be great in a display at Christmas time 


And my most exciting purchase?  Wonderful metal bicycle baskets........$5!!
I've been wanting these FOREVER, but wasn't willing to pay $20-30, plus shipping from Ebay or Etsy.
(look for these in an upcoming post) 

Lovely rustiness! 

I also got a cool little baby toy for the Bubster for $1.

So, how do you think I did for $12?  I think I did quite well.  : )


Linking to:

Friday, May 6, 2011

A Little More Shabby Chic Progress

Little by little I'm getting Halie's Shabby Chic room makeover done.  Almost there....almost there.  The newest addition is a bedskirt.  I looked on Ebay for a couple of months before I finally found what I was looking for.  I wanted it to be pink and it had to have a 15-16 in drop to hide the under the bed storage containers that hold toys and shoes.  It was taking so long to find something acceptable I even considered buying white and dying it pink.  But FINALLY....I came across this one and it fit the bill perfectly.


You can't see it very well in the photo, but it has cute little flowers embroidered along the bottom.

So, any-hoo.....her bedding is now complete!


Cute little blanket her Papaw and Meemaw had made for her a couple of years ago.

 It's kinda funny how this set all came together.  I ordered a quilt from Ebay, but when I received it, it wasn't the one I had ordered.  The seller said the picture was posted incorrectly and she didn't actually have the one I ordered and offered me a refund.  BUT...long story short, I decided to keep the one she sent.  We were getting ready to move when I ordered it so pretty much as soon as it came it got packed away for the move.

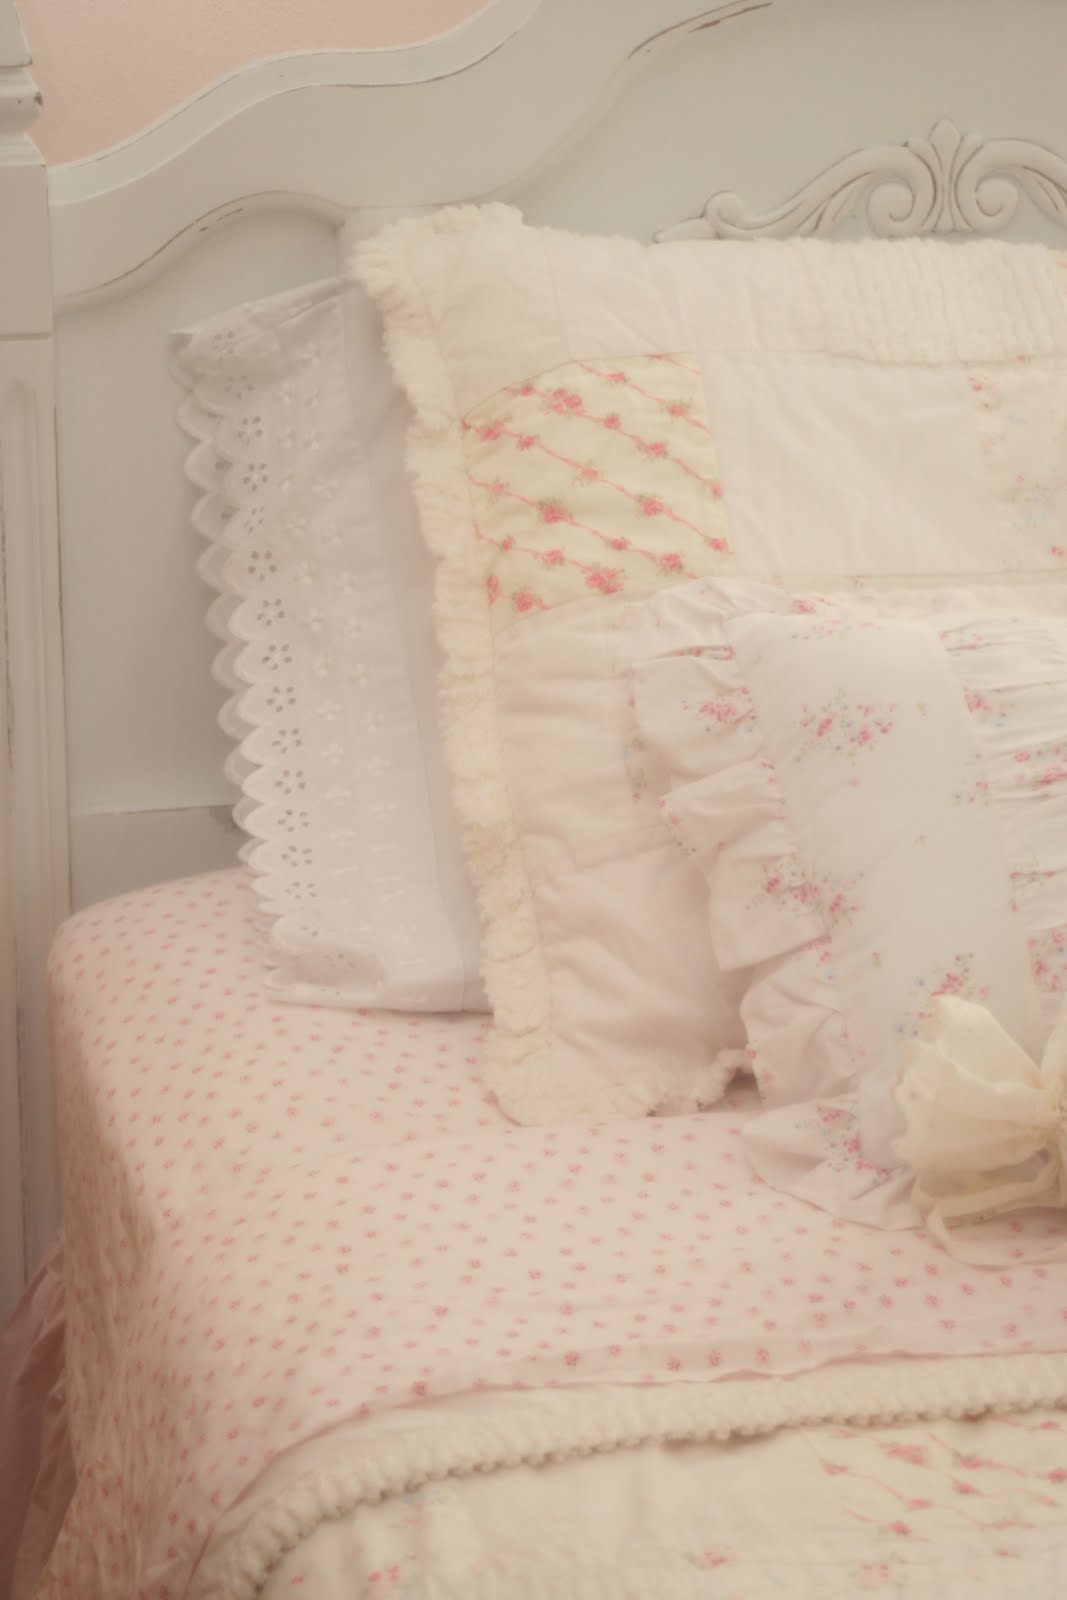
A few weeks later I found the "tootsie roll" pillow at a thrift store.  Then a couple of weeks after that I found the little square pillow at Home Goods and thought it would look good with the new quilt.  I couldn't remember for sure what the patterns in it were, but I was fairly sure it would coordinate pretty well.  Come to find out, it was a PERFECT match to the quilt!  Then, after we moved I began the search for sheets.  I already had one set, white with a pretty eyelet trim that was given to me, but I wanted another set.  I was thinking light pink with little pink flowers.  I searched Ebay for weeks, finally found what I had pictured in my mind, and when I got them.....a PERFECT match to her quilt!  I couldn't believe it.  THEN, when I ordered her bedskirt, again, I knew in my mind what I wanted and finally found it, when I got it- it was from the same exact line of bedding as her quilts and sheets!  Crazy.  So, without even trying to, I perfectly matched it all up and it looks super cute!

I mix and match her two sheet sets and use the pillow case from one set with the sheets from the other.  I think it adds to the Shabby Chic-ness of it all.  Here's the pink sheets with the eyelet trimmed pillow case.

And here's the eyelet sheets with the pink case. 

If you're interested in reading more about her room makeover you can find the bed re-do {here}, all about her kitchen and a few other little makeovers and projects {here}, a thrifty wall art project {here}, the lamp makeover {here}, and the original inspiration source {here}


So, what's left to do?  Still have to make curtains, finish painting the wall to the left of her bed and add some art/decor to it (I know what I want to do, just have to find the thing I need to make it happen), and eventually redo her dresser.  By the time I get it all done we'll probably be ready to move again, lol!


Linking to:

Related Posts Plugin for WordPress, Blogger...